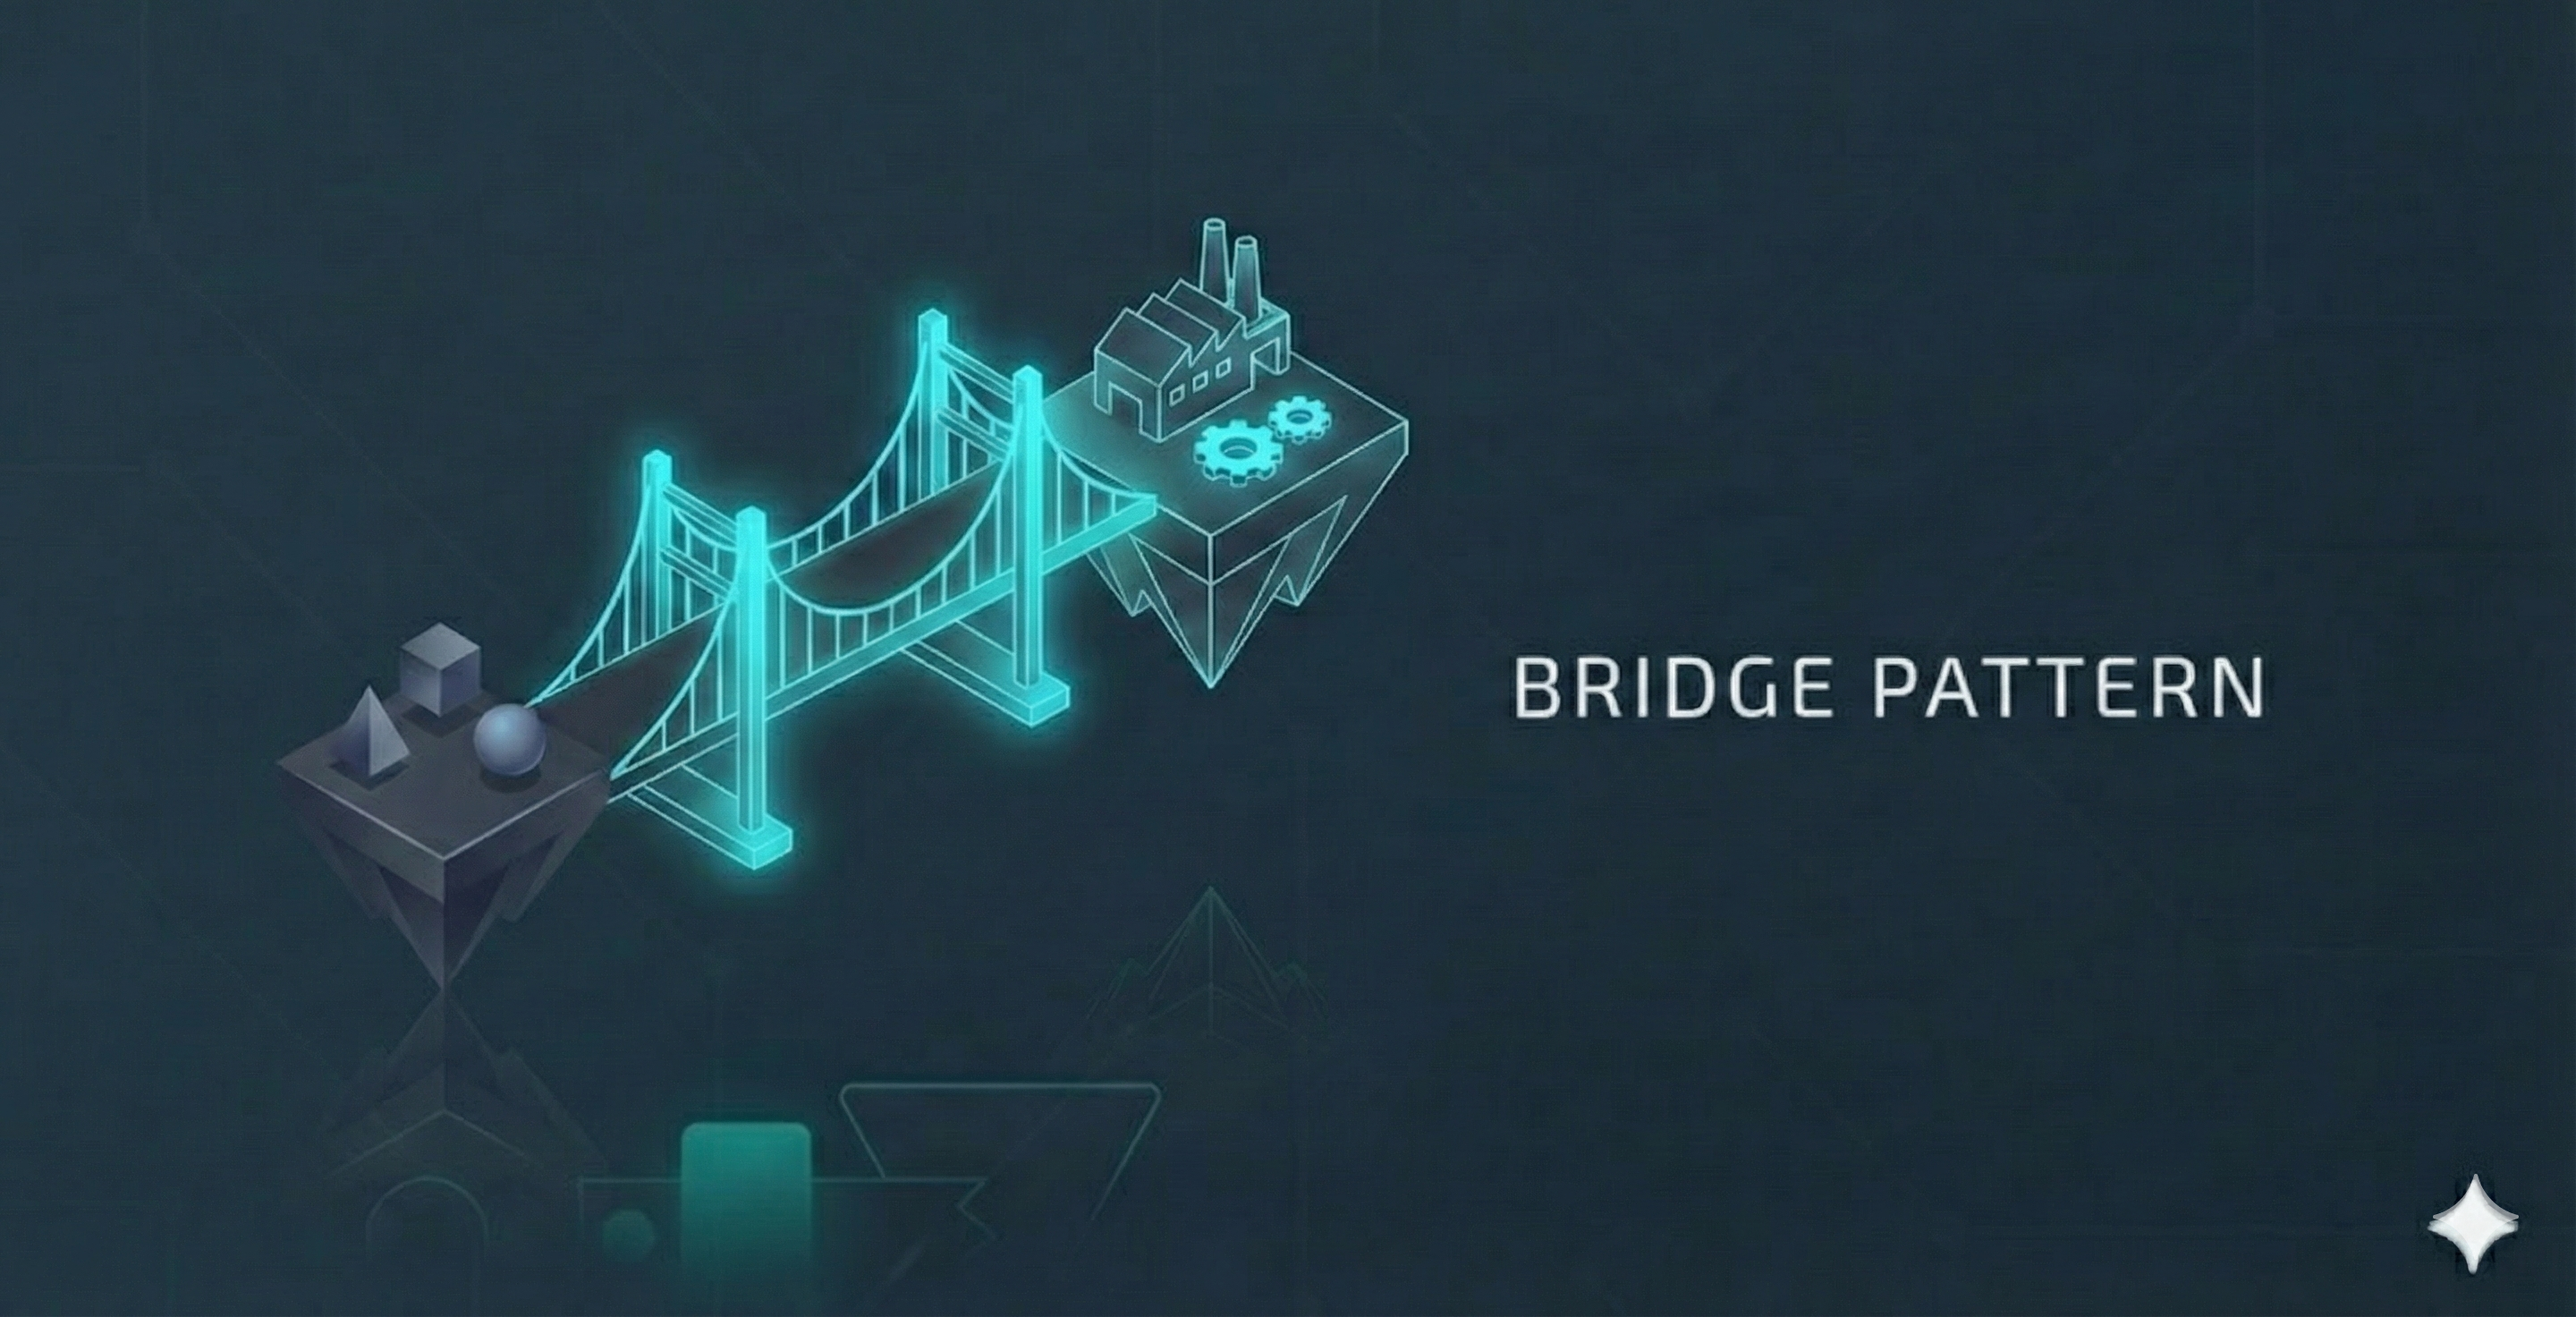
Mastering the Bridge Pattern: Decoupling Abstraction from Implementation
A comprehensive guide to the Bridge pattern, showing how to split large class hierarchies into two separate, manageable dimensions.
This article had its first draft written by AI, then refined by human editing to ensure clarity, correctness, and real-world applicability.
1. The Hook and Introduction
Imagine you are designing a graphics program that draws shapes. You start with a Circle and a Square. Simple enough. But then, requirements change (as they always do), and you need to support colors: Red and Blue.
If you use standard inheritance, you end up with classes like BlueCircle, RedCircle, BlueSquare, and RedSquare. That’s four classes. Now imagine adding a Triangle and a Green color. Suddenly, you have 3 x 3 = 9 classes. If you add resizing capabilities or different rendering platforms (Windows, Linux), your class hierarchy explodes exponentially. This is known as the Cartesian Product explosion.
The Bridge Pattern solves this by preventing the explosion before it happens. Instead of mashing all these variations into a deep inheritance tree, you separate them into two independent dimensions: the Abstraction (the Shape) and the Implementation (the Color or Renderer). You then connect them with a “bridge.”
In this article, you’ll learn:
- What the Bridge pattern is and how it prevents class explosion.
- The key components: Abstraction vs. Implementation.
- A practical Java implementation for a Device and Remote Control system.
- How this pattern applies to database drivers in the Spring Boot ecosystem.
- The key trade-offs so you’ll know when to use it.
2. A Real-World Analogy: The Universal Remote
Think of the electronics in your living room. You have a TV and a Stereo. You also have different types of remote controls: a basic remote (Power, Volume) and an advanced remote (Mute, Voice Control).
If every specific remote was permanently welded to a specific device brand, you’d be in trouble. You couldn’t use the “Advanced Remote” features on a new “Sony TV” without manufacturing a brand new physical object called SonyTVAdvancedRemote.
Instead, the Remote Control (Abstraction) is separate from the Device (Implementation). The remote holds a reference to a device. The remote sends generic signals (“Volume Up”), and the specific device translates that signal into its own hardware logic. This is the Bridge pattern in action.
3. Pattern Overview
The Gang of Four describe the Bridge Pattern as:
Decouple an abstraction from its implementation so that the two can vary independently.
This is slightly academic, so let’s simplify it. It means switching from Inheritance (is-a relationship) to Composition (has-a relationship).
Core roles:
- Abstraction (RemoteControl): The high-level control layer. It delegates the actual work to the Implementor.
- Refined Abstraction (AdvancedRemoteControl): Extends the abstraction to add more logic (e.g., a “Mute” button).
- Implementor (Device): The interface for the underlying logic (TV, Radio).
- Concrete Implementor (SonyTV, SamsungRadio): The specific code that does the work.
4. UML Diagram
1
2
3
4
5
6
7
8
9
10
11
12
13
14
15
16
17
18
        +-------------------------+                    +------------------------+
        | <Abstraction>           |                    | <Implementor>          |
        | RemoteControl           |<>----------------->| Device                 |
        +-------------------------+       Bridge       +------------------------+
        | - device: Device        |                    | + enable()             |
        | + togglePower()         |                    | + disable()            |
        +-------------------------+                    | + setVolume(percent)   |
                    ^                                  +------------------------+
                    |                                               ^
        +-----------+-----------+                           +-------+--------------+
        |                       |                           |                      |
+-------+--------------+  +-----+----------------+   +------+---------+   +--------+-------+
| <RefinedAbstraction> |  | <RefinedAbstraction> |   | <ConcreteImpl> |   | <ConcreteImpl> |
| RemoteControl        |  | AdvancedRemote       |   | TV             |   | Radio          |
+----------------------+  +----------------------+   +----------------+   +----------------+
| + togglePower()      |  | + mute()             |   | + enable()     |   | + enable()     |
|                      |  |                      |   | ...            |   | ...            |
+----------------------+  +----------------------+   +----------------+   +----------------+
5. Code Example in Java
Let’s implement the Remote/Device split to see how the bridge keeps our code clean.
Step 1 — The Implementor Interface
This interface defines the low-level operations that all devices must support.
1
2
3
4
5
6
7
public interface Device {
    boolean isEnabled();
    void enable();
    void disable();
    int getVolume();
    void setVolume(int percent);
}
Step 2 — Concrete Implementors
Here are the specific devices. They implement the details of how to turn on or change volume.
1
2
3
4
5
6
7
8
9
10
11
12
13
14
15
16
17
18
19
20
21
22
23
24
25
26
27
28
29
30
31
32
33
34
35
36
37
38
39
40
41
42
43
44
45
46
47
48
49
50
51
52
53
54
55
56
57
public abstract class BaseDevice implements Device {
    protected final Logger logger = LoggerFactory.getLogger(getClass());

    private static final int MIN_VOL = 0;
    private static final int MAX_VOL = 100;
    private static final int DEFAULT_VOL = 30;

    private final String deviceName;
    private boolean on = false;
    private int volume = DEFAULT_VOL;

    public BaseDevice(String deviceName) {
        this.deviceName = deviceName;
    }

    public String getDeviceName() {
        return deviceName;
    }

    @Override
    public boolean isEnabled() { return on; }

    @Override
    public void enable() {
        this.on = true;
        logger.info("{} turned ON.", getDeviceName());
    }

    @Override
    public void disable() {
        this.on = false;
        logger.info("{} turned OFF.", getDeviceName());
    }

    @Override
    public int getVolume() { return volume; }

    @Override
    public void setVolume(int percent) {
        if (percent > MAX_VOL) this.volume = MAX_VOL;
        else if (percent < MIN_VOL) this.volume = MIN_VOL;
        else this.volume = percent;
        logger.info("{} Volume set to {}%.", getDeviceName(), this.volume);
    }
}

public class TV extends BaseDevice {
    public TV() {
        super("TV");
    }
}

public class Radio extends BaseDevice {
    public Radio() {
        super("Radio");
    }
}
Step 3 — The Abstraction Hierarchy
The RemoteControlor LocalControl doesn’t know how to turn on a device; it just knows that a device can be turned on. It holds the “bridge” (the Device field).
We create the control abstraction as AbstractControl and create two concrete types: RemoteControl (handheld) and LocalControl (on-device buttons).
1
2
3
4
5
6
7
8
9
10
11
12
13
14
15
16
17
18
19
20
21
22
23
24
25
26
27
28
29
30
31
32
33
34
35
36
37
38
39
40
public abstract class AbstractControl {
    protected final Logger logger = LoggerFactory.getLogger(getClass());

    private final Device device;
    private static final int VOLUME_STEP = 10;

    public AbstractControl(Device device) {
        this.device = device;
    }

    public Device getDevice() { return device; }

    public void togglePower() {
        if (device.isEnabled()) {
            device.disable();
        } else {
            device.enable();
        }
    }

    public void volumeDown() {
        device.setVolume(device.getVolume() - VOLUME_STEP);
    }

    public void volumeUp() {
        device.setVolume(device.getVolume() + VOLUME_STEP);
    }
}

public class RemoteControl extends AbstractControl {
    public RemoteControl(Device device) {
        super(device);
    }
}

public class LocalControl extends AbstractControl {
    public LocalControl(Device device) {
        super(device);
    }
}
Step 4 — Refined Abstraction
We can extend the handheld remote without touching the device code or the local control logic.
1
2
3
4
5
6
7
8
9
10
11
public class AdvancedRemote extends RemoteControl {

    public AdvancedRemote(Device device) {
        super(device);
    }

    public void mute() {
        logger.info("Remote: Muting device...");
        getDevice().setVolume(0);
    }
}
Step 5 — Client and Usage
Notice how we can mix and match remotes and devices freely.
1
2
3
4
5
6
7
8
9
10
11
12
13
14
15
16
17
public class Application {
    private static final Logger logger = LoggerFactory.getLogger(Application.class);

    public static void main(String[] args) {
        Device oldTv = new TV();
        Device radio = new Radio();

        logger.info("--- Testing TV ---");
        LocalControl localControl = new LocalControl(oldTv);
        localControl.togglePower();

        logger.info("--- Testing Radio ---");
        AdvancedRemote advancedRemote = new AdvancedRemote(radio);
        advancedRemote.togglePower();
        advancedRemote.mute();
    }
}
6. Spring Boot Context
While you might not write a custom Bridge every day in Spring Boot, you use one constantly: JDBC (Java Database Connectivity).
JDBC is the ultimate Bridge pattern implementation in the Java ecosystem.
- Abstraction: The
java.sql.Connectionandjava.sql.DriverManagerinterfaces are the high-level API your application code uses. You write code against these interfaces. - Implementation: The database drivers (MySQL Driver, PostgreSQL Driver, H2 Driver) are the concrete implementations provided by vendors.
In Spring Boot, when you define your properties:
1
2
spring.datasource.url=jdbc:mysql://localhost:3306/mydb
spring.datasource.driver-class-name=com.mysql.cj.jdbc.Driver
You are configuring the Implementation side of the bridge. Your generic Spring Data repositories (the Abstraction) function identically whether the underlying implementation is MySQL or Postgres. The Bridge pattern allows the Java language (Abstraction) to evolve independently from the database vendors (Implementation).
7. Advantages & Disadvantages
Advantages
- Decoupling: You separate the interface from the implementation. This usually results in better extensibility.
- Open/Closed Principle: You can introduce new abstractions (e.g., VoiceRemote) and new implementations (e.g., SmartProjector) without modifying existing code.
- Hides Implementation Details: The client code only sees the high-level abstraction.
Disadvantages
- Complexity: It introduces new interfaces and classes. For a simple app with only one device type, this is overkill.
- Conceptual Overhead: It requires a shift in thinking from inheritance to composition, which can be confusing for junior developers.
8. When to Use or Avoid
Use it when:
- You have a class that has two orthogonal dimensions (like Shape/Color or Device/Remote).
- You want to switch implementations at runtime.
- You want to share an implementation among multiple objects (reference counting, etc.).
Avoid it when:
- Your hierarchy is simple and unlikely to change.
- You are using the pattern just to avoid inheritance “just in case.” YAGNI (You Ain’t Gonna Need It) applies here.
9. Conclusion
The Bridge Pattern is a powerful tool for taming complexity. By recognizing when a class is trying to do too much in two different directions (abstraction vs. implementation), you can split it apart and connect the pieces with a bridge. This keeps your classes small, focused, and easy to maintain.
Key Takeaways:
- Core Idea: Split a large class hierarchy into two separate hierarchies: Abstraction and Implementation.
- Main Benefit: Prevents the “Cartesian Product” class explosion.
- Mechanism: Uses object composition (the bridge) instead of inheritance.
Final Thought:
If you find yourself creating classes like WindowsWindow, LinuxWindow, MacWindow, WindowsDialog, LinuxDialog… stop. Build a bridge instead.
Next Up: Now that we’ve bridged the gap between abstractions and implementations, what if we need to treat a group of objects the same way as a single object? Next, we’ll explore the Composite Pattern, the go-to solution for tree structures.
10. GitHub Example
You can find the complete, working code example for design patterns in my public GitHub repository. Feel free to clone it and experiment with the code.
- GitHub Repository - Design Patterns: mcakar-dev/design-patterns
- GitHub Repository - Bridge: mcakar-dev/design-patterns - Bridge
11. References & Further Reading
- Head First Design Patterns by Eric Freeman & Elisabeth Robson
- Design Patterns: Elements of Reusable Object-Oriented Software by Gamma, Helm, Johnson, Vlissides
- Refactoring.Guru: Bridge
- Baeldung: The Bridge Pattern in Java